Using the OData Connection Manager
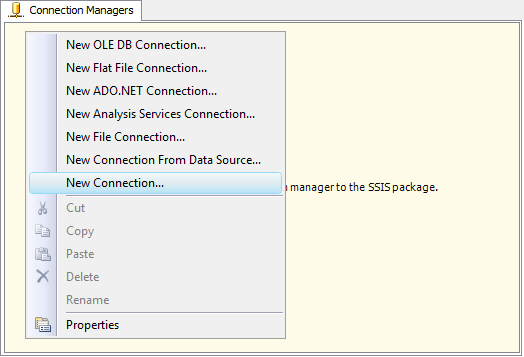
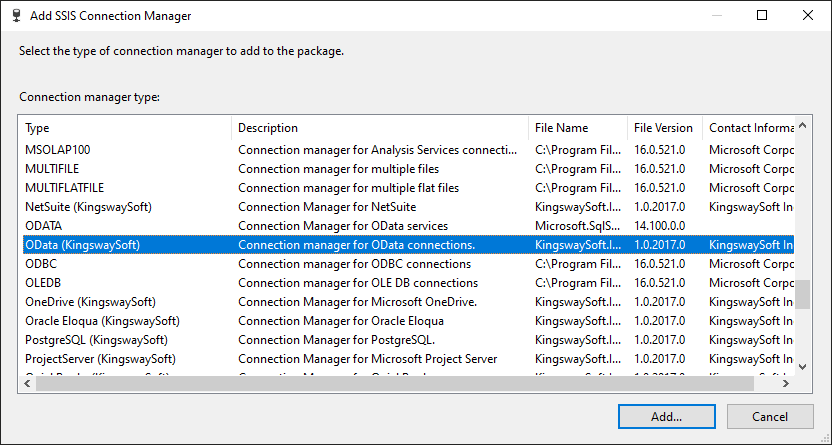
To add a connection to your SSIS package, right-click the Connection Manager area in your Visual Studio project, and choose "New Connection..." from the context menu. You will be prompted the "Add SSIS Connection Manager" window. Select the "OData (KingswaySoft)" item to add the new connection manager.
It is worth noting that OData connection is essentially an HTTP connection with some specific OData behaviors and features added, which help provide a standard way to query data over the standard HTTP protocol while offering many flexibilities. Such OData features can be very useful when working with a complex API which could be otherwise much more costly to implement.
The OData Connection Manager contains the following five pages to connect to the HTTP server.
- General
- Authentication
- OData Settings
- Proxy Settings
- Advanced Settings
In this page, we will only cover those options on the OData Settings page. For your reference, if you would like to practice the OData connection infrastructure, you may use the following service URL as your connection manager's Base URL option. This service endpoint provides most standard OData features in a consumable way.
- https://services.odata.org/TripPinRESTierService
OData Settings
The OData Settings page allows you to work with the OData service configurations.
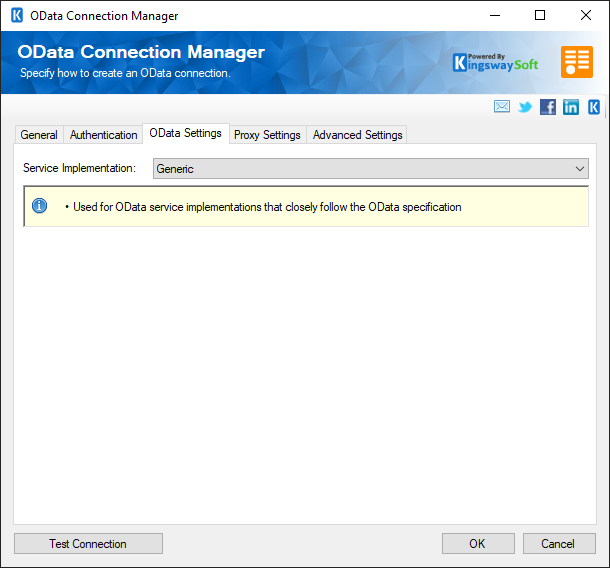
- Service Implementation
-
You could choose the Service Implementation you wish to work with. There are three options:
-
CDS/Dynamics 365 Customer Engagement
- Used for OData Service implementation that closely follows the Microsoft Web API specification.
- Uses ‘@odata.nextLink’ when paging
-
Generic
- Used for OData service implementations that closely follow the standard OData specification.
-
Generic - ‘Next Link’ Paging
- Used for OData service implementations that closely follow the standard OData specification and use the ‘@odata.nextLink’ strategy when paging.
-
SharePoint
(since v21.1)
- Used for OData Service implementation that closely follows the Microsoft SharePoint API specification.
- Auto formats GUIDs in URLs.
- Functions are not fully qualified.
-
CDS/Dynamics 365 Customer Engagement
Additional OData HTTP Connection Configurations
As mentioned, OData services are essentially an HTTP server with some additional OData features implemented to faciliate some advanced query and writing strategies. For the rest connection configurations of an OData connection, including the General, Authentication, Proxy Settings, and Advanced Settings pages, you may refer to the HTTP Connection Manager documentation.