At KingswaySoft, we take pride in offering the most intuitive interface to facilitate advanced integration scenarios efficiently through various ETL components included in our solution. Having said that, most of the integration development is done from within the ETL process, and there are some instances or APIs that may require some additional special procedures outside of SSIS to make successful connections. One such case would be connecting to your Couchbase cloud using our Couchbase Connection Manager in SSIS. Throughout our support engagements with various client cases, we’ve seen growing interest in working with Couchbase Capella, an online managed version of the database. However, there is a significant obstacle with Couchbase Capella connections that has created challenges when they encounter the following error message while setting up the connection manager:
System.IO.IOException: The operation is not allowed on non-connected sockets. (SSIS Productivity Pack, v23.3.0.33301 - devenv, v16.11.34407.143)
As you can see, the error message itself is very vague, and it can be difficult to understand what exactly is the issue under the hood. In addition, there are very limited online resources available that have discussed this issue.In this blog post, we will guide you through the process that would resolve the issue and make successful connections to Couchbase Capella online instances using our Couchbase Connection Manager. Once the connection issue is resolved, you should be able to easily use our Couchbase Source Component to read data or the Couchbase Destination Component to write data as desired.
Download Database Security Certificate
The first thing to do is to download your database security certificate from Couchbase Capella. For this, you would first sign in to your instance - https://cloud.couchbase.com/sign-in.
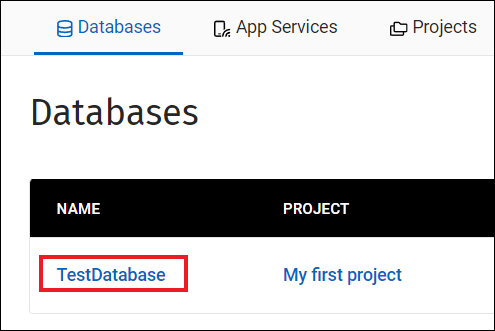
Once you are here, you can navigate to the databases and select the specific database name you are working with.
You would then go to the settings page for the database.

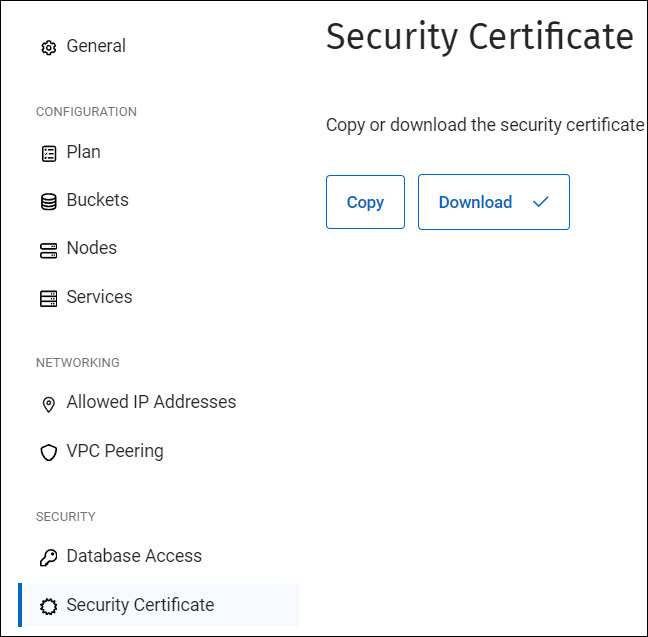
Click on Security Certificate - you can find this on the left side under the Security Grouping. Then click Download to save it as a file. This certificate helps us ensure that only approved users, machines, and endpoints will have access to the system resources.
Installing the Certificate on your machine
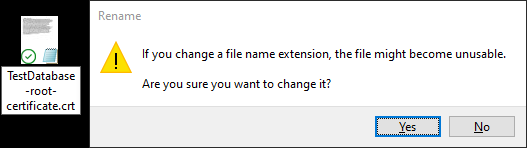
The downloaded certificate file from the process above should have a file extension of ".txt". To make it more recognizable by the Windows operating system, you can change the extension of the file to crt. When you do so, you will receive a warning similar to what is shown below. Please click the ‘Yes’ button to proceed.
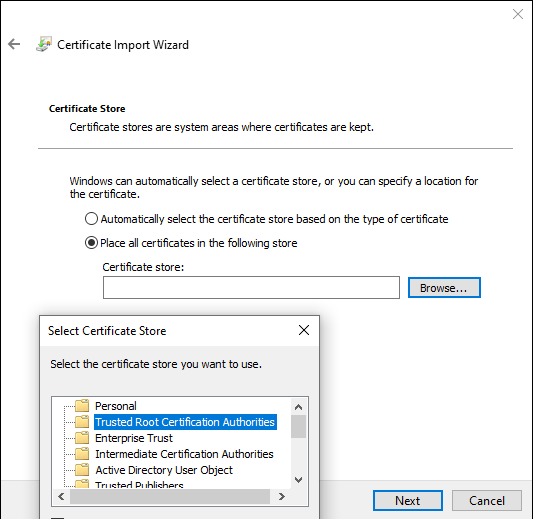
Now, right-click on the file and select 'Install Certificate'; this will install the certificate we just created on the machine. You may select current user or local machine, and place all certificates in the following store. When browsing, we will select "Trusted Root Certification Authorities" in the popup. This will use the specific store we have selected.
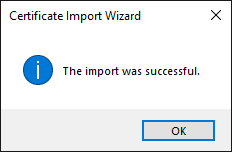
After you select finish, the last popup window will display: ‘The import was successful’. When you receive this message, the process is complete and we can move on to the setup in your Couchbase Connection Manager.
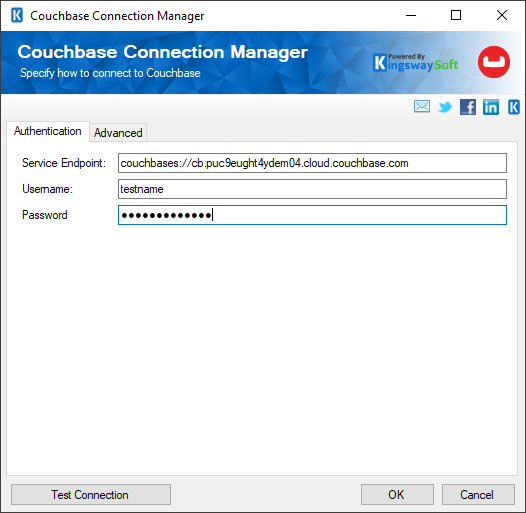
Within our connection manager, we can get the Service Endpoint by going back into the Couchbase environment and copying the entire Public Connection String generated. This will allow you to connect to the specific database you are working with. You may find this under the ‘connect’ option.

You may already have a database access name to access the database; if not, you can create one and set the name and password (as well as the bucket-level access, scopes, and read/write permissions), which will be used in our connection manager's Username and Password fields as shown below. You may find this under Settings > Database Access.

The last step would be to enter the details we have gathered in the last steps above for the Service endpoint: Username and Password. Your connection should work, and you may always test it using our ‘Test Connection’ button; this is a quick way to check if you have access to the environment.
Conclusion
Our goal in this blog post has been to illuminate how it’s possible to work with both on-premises and online instances of Couchbase using our dedicated component. Hopefully, we have been able to guide you through the process, enabling you to establish a successful connection to your online database. If you already have Couchbase Capella online, or were wondering how to connect to this type of instance, you can always download our SSIS Productivity Pack and give this a try yourself.
We hope this guide has been helpful!