Business Central supports three types of web services interfaces: API Web Service, SOAP, and OData. According to the Microsoft documentation, each interface supports accessing different objects. The following table lists the web services interfaces and the objects available in each of them.
|
Object |
SOAP |
OData |
API Web Service |
|
Pages |
Yes |
Yes |
Yes |
|
Codeunits |
Yes |
Yes |
No |
|
Queries |
No |
Yes |
Yes |
In previous posts, we discussed working with Dynamics 365 Business Central/NAV, SOAP and OData web services in SSIS using our SSIS Productivity Pack components.
- Working with Dynamics 365 Business Central/NAV Codeunit in SSIS
- Consuming Dynamics 365 Business Central/NAV Codeunit Services using KingswaySoft OData Components
In this post, we will delve into how to consume data with Dynamics BC/NAV REST API in SSIS using the Premium OData Source component, which is offered in our SSIS Productivity Pack.
Configure OData Connection Manager
To consume the Dynamics BC/NAV REST API, the first step is to configure the OData Connection Manager to establish a connection to the Dynamics BC/NAV server.
Connecting to Dynamics Business Central/NAV On-Premise
Dynamics BC/NAV On-Premise REST Base URL should have an address in the following format:
- https://<HostName>:<port>/<serverInstance>/api/<API version>/?company='CompanyName'
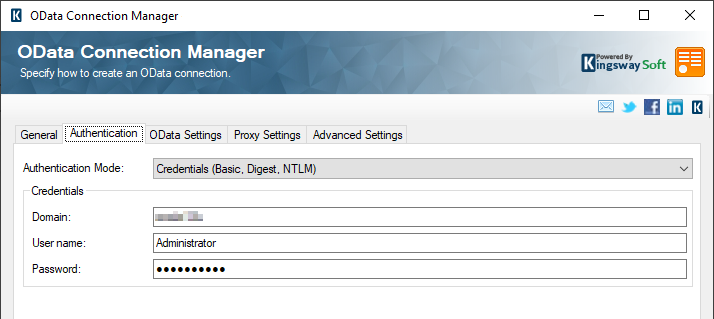
A local Dynamics BC/NAV server can have a REST API base URL like this: https://nav.contoso.com:7048/bc/api/v2.0/?company='CRONUS%20Canada%2C%20Inc.' After specifying the Base URL in OData Connection Manager, the next step is to configure the authentication in order to connect the Dynamics BC/NAV OnPrem server via proper authentication. When working with on-premises BC/NAV server, you would use the Credentials authentication method and provide the domain, username and password values.
Connecting to Dynamics Business Central Online
When working with Dynamics 365 Business Central online, the base URL for the REST v2 service endpoint should have a format like something below:
https://api.businesscentral.dynamics.com/v2.0/{tenant-id}/Production/api/v2.0/?company='CRONUS Canada, Inc.'

Both Basic and OAuth2 authentication modes can be used to connect to Dynamics Business Central Online.
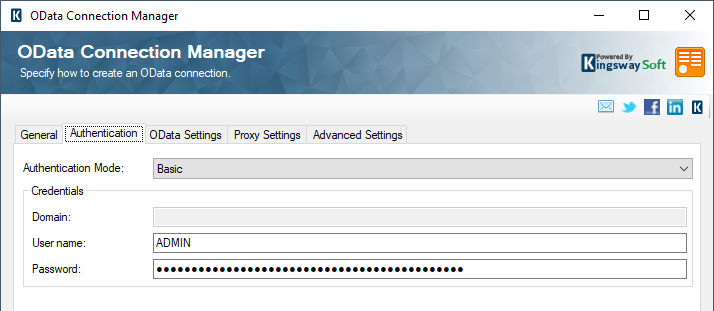
When using Basic authentication mode, you would use the Business Central user’s Web Service Access Key as the password when setting up the Basic authentication. It is worth noting that the Basic authentication is not recommended for security reasons.
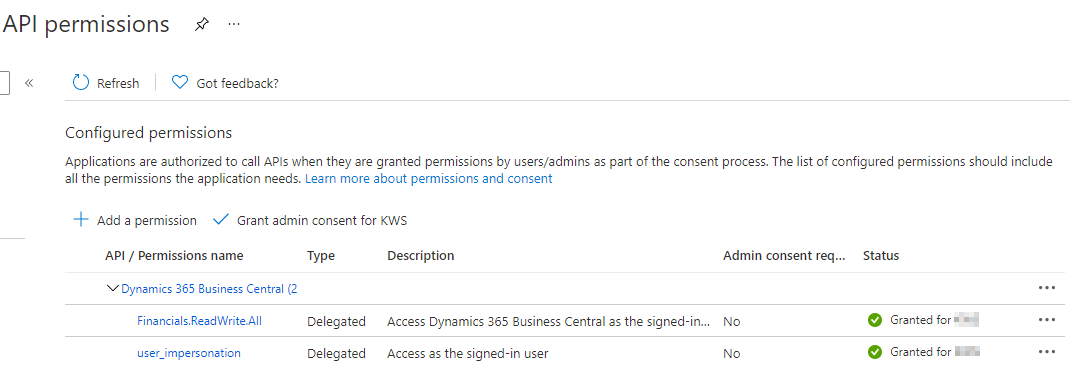
The preferred authentication would be using the OAuth option. In doing so, you will need to register an Azure Active Directory (AAD) application in the same Azure tenant in which your Business Central instance resides. Once you have created the Azure AD app, you will need to grant it proper permissions in order to access the Business Central services. The permission configuration should be something such as the example below:
After you have the Microsoft AAD app ready, you can now continue the configuration of the HTTP Connection Manager by setting the authentication mode to OAuth 2, and from there you can launch the OAuth Token Generator by clicking the Generate Token File... button. At this point, you should have all the required information which you can put into the OAuth Token Generator. Based on Microsoft OAuth documentation, we should configure the OAuth Token Generator like something below:

|
Parameter |
Value |
|
Sign In URL |
https://login.microsoftonline.com/{tenant-id}/oauth2/v2.0/authorize |
|
Client Id |
The application ID of the AAD app. |
|
Client Secret |
The application secret in the AAD app. |
|
Scope |
https://api.businesscentral.dynamics.com/.default offline_access |
|
Redirect URI |
The redirect_uri configured in the AAD app |
Click the Next button to go to the next page and click either the Authorize In App… or Authorize In Browser… button to launch the authorization page, from there you would log in and provide your consent to the permissions the app is requesting. Once done, you will be redirected to the redirect_uri web page that you have set up in the Microsoft AAD app. The URL will be appended with an authorization code in its code query string parameter. You would now copy the entire URL back to the pop-up dialog in OAuth Token Generator if you are using the Authorize In Browser mode, then you will be navigating to the Request Tokens page from where you can complete the process of obtaining a token for connection purposes.
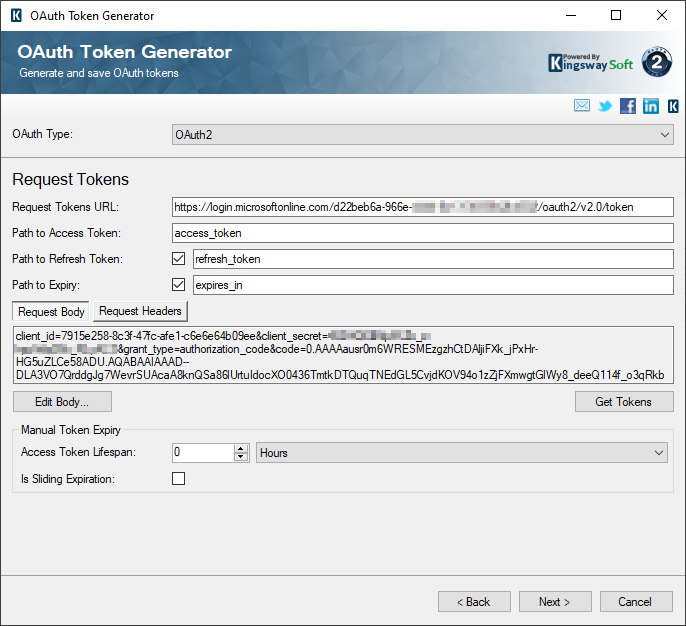
In the Request Tokens page, Request Token URL should be “https://login.microsoftonline.com/{tenant-id}/oauth2/v2.0/token” for Microsoft OAuth authentications. Fill in the Request Tokens URL and click the Get Tokens button to request an access token. If everything goes well, you should now have received the OAuth access_token along with a refresh_token. Now it is a good time to save the entire token as a file to your local file system which can be used for your connection manager later. When doing so, you will be prompted to provide a password to protect the sensitive fields in the token file.
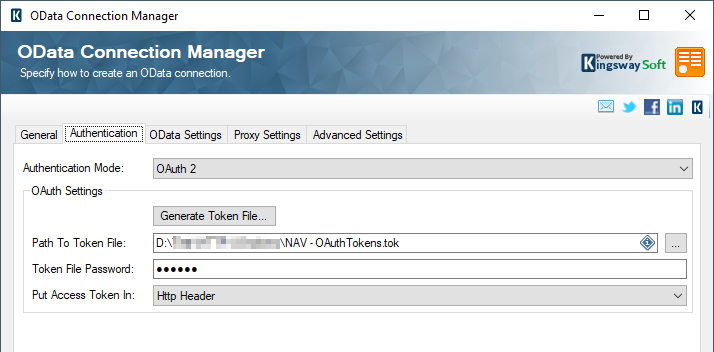
Once the OAuth2 token file has been successfully generated and specified in the OData connection manager, the connection manager will automatically manage the lifecycle of the token, including the automatic refresh of the token when the current access token has expired. This provides you the maximum convenience for an uninterrupted integration process when it is used for unattended SSIS job executions. You can request the token file from one computer system, but upload it to another server for runtime execution.
Consume Business Central/NAV data using REST v2 API
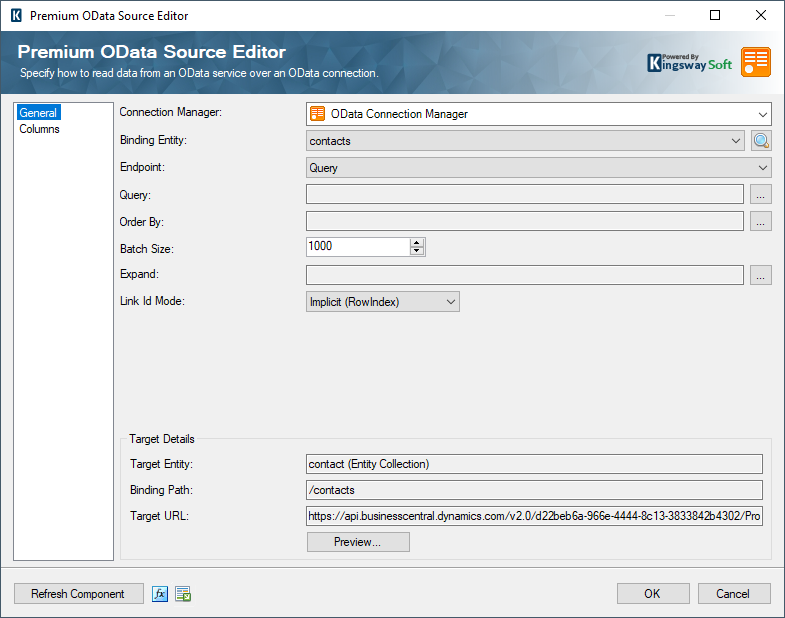
After successfully creating and testing our OData connection, we are now ready to actually interact with the API to facilitate reading and writing data. This can be achieved using the Premium OData Source component which is offered in the SSIS Productivity Pack product. The Premium OData Source component is an enhanced OData Source component that supports working with entity, collection of entities, bound functions and unbound functions. It does a lot more than alternative solutions that might be available.
The screenshot below shows such an OData source component which retrieves contact records from Business Central/NAV REST API by working with the contact entity.
Conclusion
Dynamics Business Central/NAV data can be accessed using different API options, which include SOAP web service, OData web service, and the REST API endpoints. REST v2.0 API is a standard API offered by Microsoft that provides access to common objects in Business Central/NAV. Working with Business Central/NAV data through REST API in SSIS cannot be any easier when using the KingswaySoft Productivity Pack components. This way your integration can be done without writing a single line of code.