Our Dynamics 365 toolkit started providing OAuth support over 3 years ago in our v10.0 release. While majority of our clients have switched their connections to use OAuth for the CDS and Dynamics CRM components, we have also seen many clients who have not switched over yet due to various reasons. In this blog post, we will quickly highlight why you should make the move by switching your connections to OAuth and then we will demonstrate how you could properly set up an OAuth connection for your CDS or CRM components.
First of all, let's have a quick review why you should switch to the OAuth authentication type. The following are some of the reasons:
- OAuth is a modern application authentication and authorization infrastructure which provides some better security in protecting your data when it comes to data integration projects in processing or consuming your Dynamics 365, CDS or Dataverse data.
- Online Federation
has been deprecated by Microsoft (including the regional discovery service), which used to be the option that you would use to connect to your Dynamics 365 Online or CDS environment. As a result of the deprecation, the only appropriate authentication option for Dynamics 365 Customer Engagement online, CDS and Dataverse would be the
OAuth option. If you are still using the Online Federation option, your connection should fail and you might receive the following error message:
An error occurred when processing the security tokens in the message: You are using Ws-Trust authentication which has been deprecated and no longer supported in your environment. Please use OAuth2.0 authentication.
- When setting up an OAuth connection properly, it can support a Dynamics 365 or CDS instance that has the Multi-Factor Authentication (MFA) enabled. MFA is a commonly used application security mechanism to better protect your application data. In working with a MFA environment, you would typically be utilizing the Certificate or Client Credentials OAuth type. Client Credentials is the option that we mainly discuss in this blog post.
However, setting up an OAuth connection is quite an involved process, switching to OAuth authentication involves a number of steps, which can be a bit confusing in the beginning if you have not worked on the concept before. In this post, we will walk you through the process with some great details to help you understand what is required and how OAuth works for our CDS/CRM connections. We hope this complements our online documentation page in its OAuth section, we hope this provides you some real-world configurations on how it can be properly achieved.
Now, let's get started.
To use OAuth, you need to make sure you have registered an Azure App, and you need to get the Client App ID and Client Secret from the Azure Portal.
If you do not already have an Azure App, then to create a new Azure App please follow these steps (Note, if you do already have an Azure App, then after step 1, please skip to step 4):
- Log in to Azure Portal and navigate to Azure Active Directory in the same tenant as your Dynamics 365 instance.
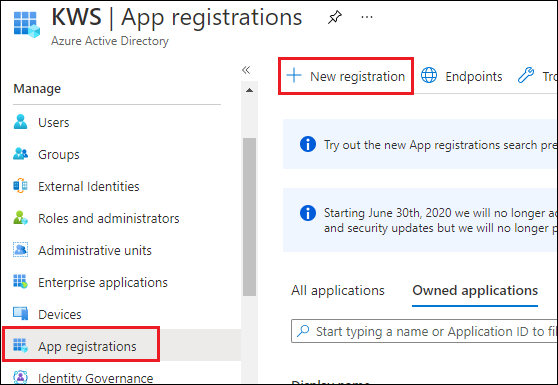
- In the left pane, click on “App registrations”, then select “New registration”.
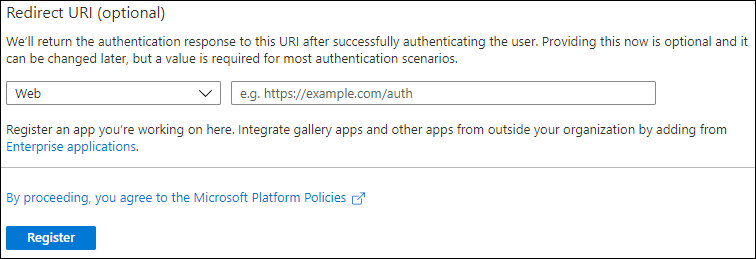
- On the Registration page, please ensure that you enter a Redirect URI. For the Redirect URI, you can supply any valid https URL.
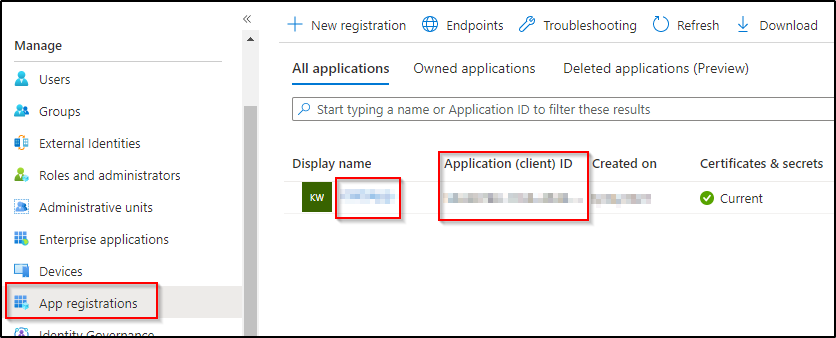
- After you click Register, you should now see your app in the App registrations page. This is where you get your App ID. Click on your App to continue on to adding permissions.
- In the left Navigation Pane, click on “API Permissions”. If you do not see a permission for Dynamics, click on “Add a permission” and select “Dynamics CRM” from the window that opens.

- Next, click on “Grant admin consent” to see the status change to Granted for the permissions. Please note that this step can also be done from our connection manager by clicking on the “Authorize” button there. If you do it here in the UI, then you will not need to click “Authorize” in our connection manager.

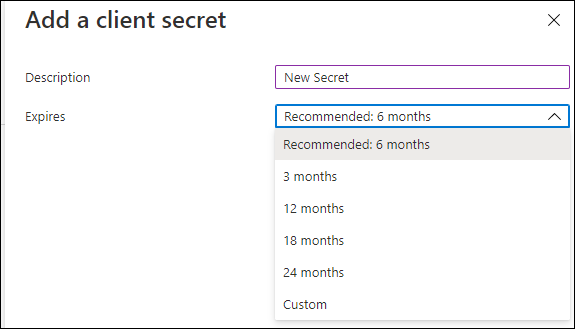
- To create your Client Secret, go to “Certifications & secrets” in the left Navigation Pane, then click on “New client secret”. Add a “Description” and “Expires” timeframe, then click “Add”.
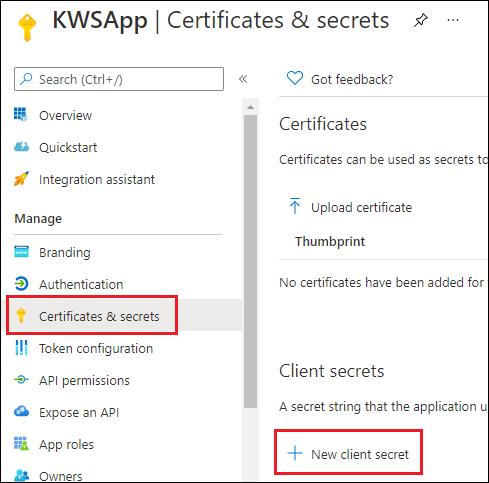
Please note that Client Secret is available to view and copy only at the time when it is created. If you forget to copy it at time of creation, there is no way to reveal the client secret. In such cases, all you can do is to create a new client secret and you may remove the unrecoverable client secret if you know it is not used elsewhere.
Your App is now created and registered with the required permissions and Client Secret.
Next you will also need to have an Application User created in your Dynamics 365 CE/CRM Environment. To create an Application User:
- First, login to the Power Platform Admin Center using the URL https://admin.powerplatform.microsoft.com/.
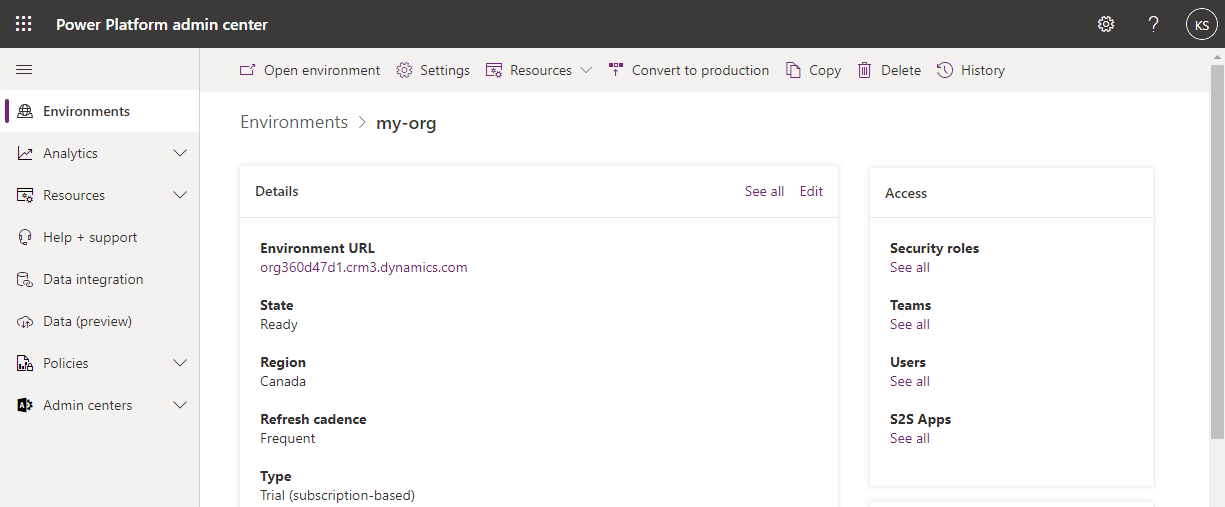
- From within the admin center, try to navigate to the Environment (or instance) that you would like to create the app user.
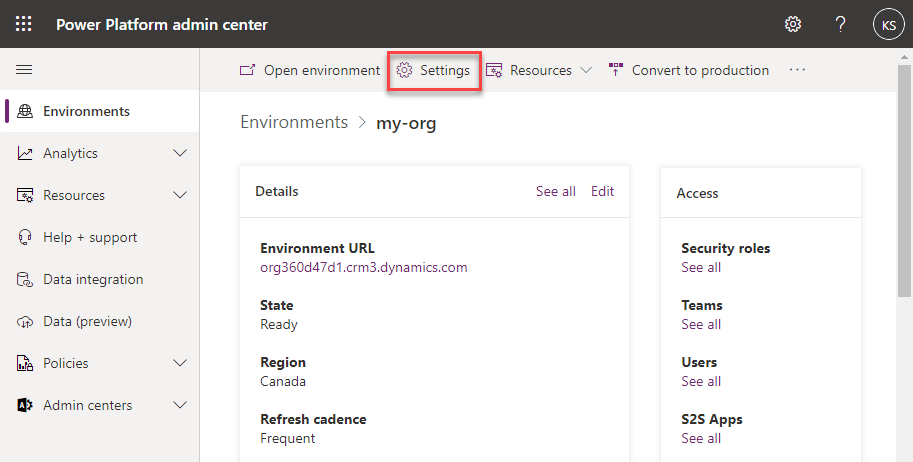
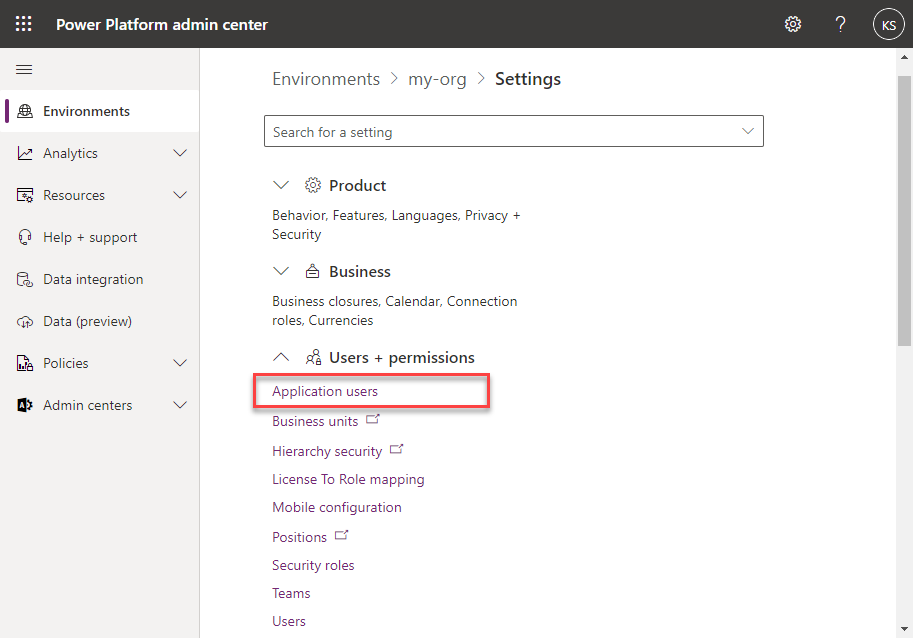
- Click the Settings button on the top.
- From within the Settings page, expand the Users + permissions section, and click on the Application user menu item.
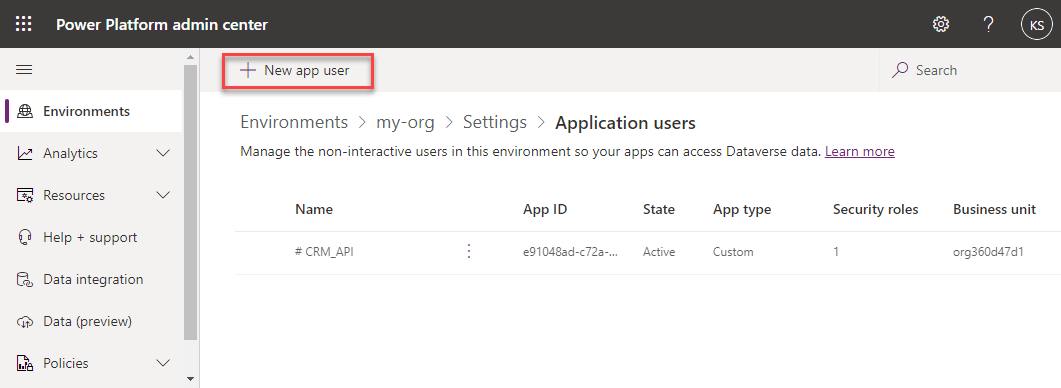
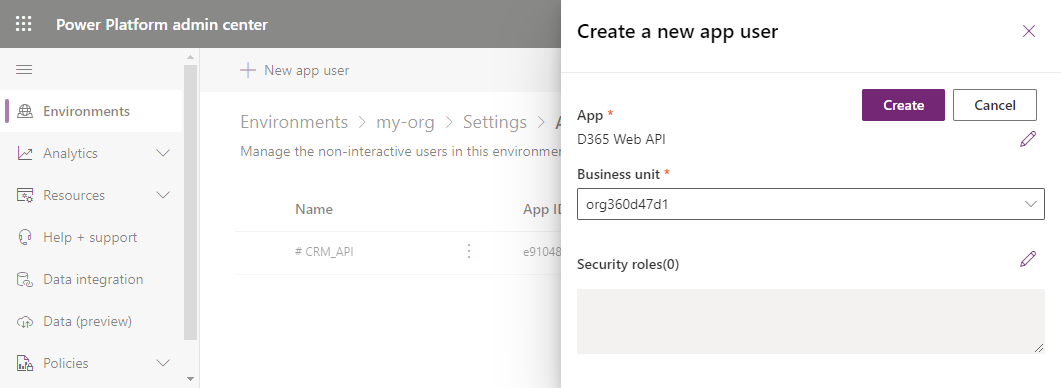
- In the new page, click the New app user button on top.
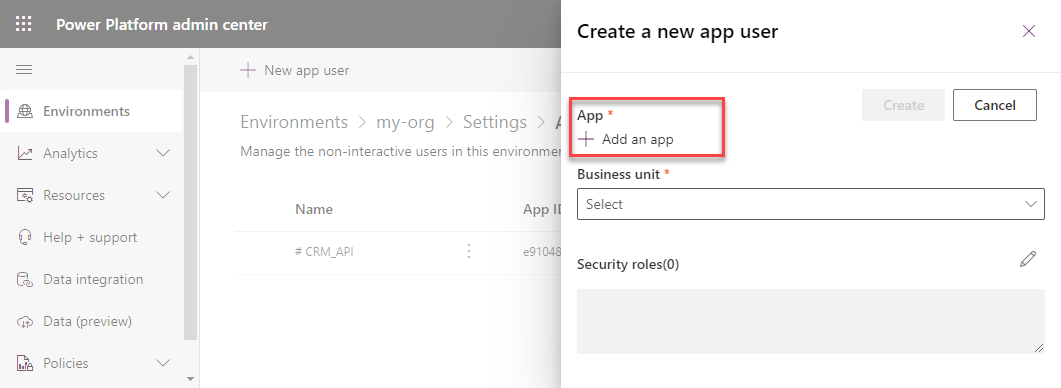
- In the popup window, click the Add an app button.
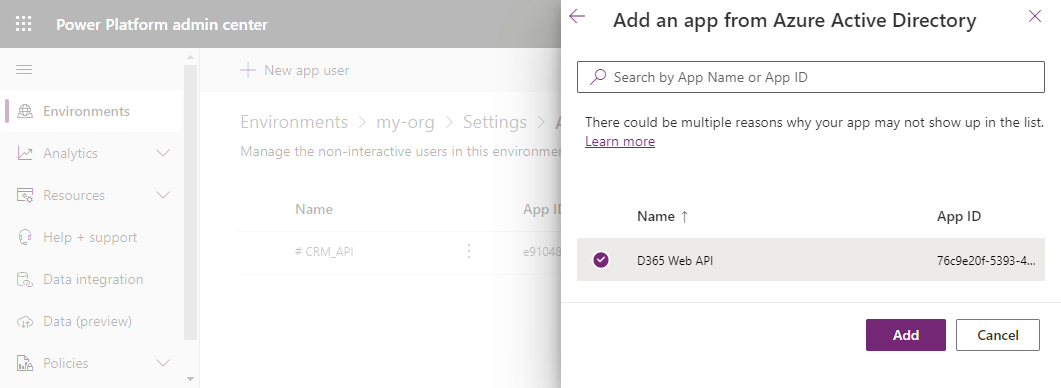
- Now you should be able to select the app that you have previously created.
- After all, you would select the business unit that the user belongs to, and give it a proper security role to complete the creation of the app user.
Your Application User is now created and set up. You do not need any of the information from the above User forms for the KingswaySoft connection manager, but if you did not have the App User created, you would encounter errors when using the connection.
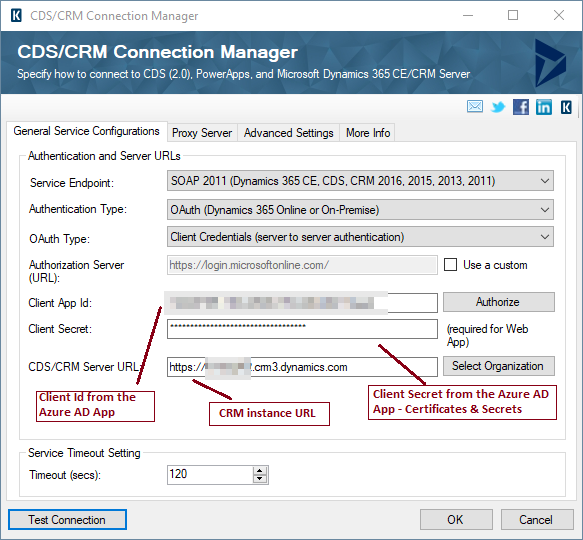
Now we are ready to create the connection in SSISOnce you have completed the above steps, you may now head to your SSIS development environment to complete the connection setup. If it is a package with existing connection, you may simply switch your CDS/CRM connection to use OAuth. Or otherwise if your package does not currently have any connection, you may simply create one. As you can see from the screenshot below, we are using all the information gathered above to fill out the connection properties for the OAuth connection.
Closing Notes
In this blog post, we only covered the Client Credentials option. However, the OAuth authentication in the CDS/CRM connection manager supports additional options which we didn't cover this blog post, they can be useful in other scenarios.
- Password: The Password OAuth Type uses username and password along with the Client Id and secret.
- Client Credentials: This is what we have discussed in this blog post.
- Certificate: This uses a certificate key pair, out of which the public key would be uploaded to your Azure AD App, and the private key is installed on the machine or your server to generate a thumbprint to be used in the connection manager.
- Interactive login (since v21.1): This option should be used only at design time to test, which uses interactive UI based login.