Using the QuickBooks Destination Component
The QuickBooks Destination Component is an SSIS data flow pipeline component that can be used to write data to QuickBooks Online. You may Create, Update, and Delete records with this component.
General Page
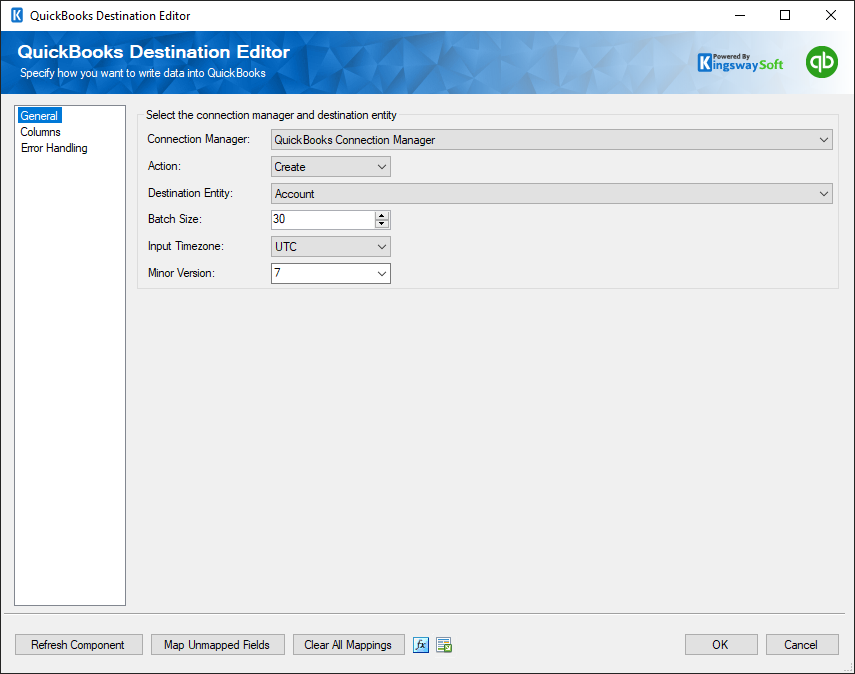
The General page of the QuickBooks Destination Component allows you to specify the general settings of the component.
- Connection Manager
-
The QuickBooks destination component requires an active connection to QuickBooks. You can specify a Connection Manager here to facilitate that connectivity.
- Action
-
The Action option allows you to specify how the data should be written into QuickBooks, there are different action types available depending on what instance type of your QuickBooks system is.
- For QuickBooks Online instance, there are four (4) action types available:
- Create: Create new record(s) in QuickBooks Online
- Update: Update existing record(s) in QuickBooks Online
- HardDelete: Hard Delete record(s) from QuickBooks Online
- SoftDelete: Deactivates record(s) from QuickBooks Online
- For QuickBooks Desktop instance, there are four (4) action types available:
- Create: Create new record(s) in QuickBooks Desktop
- Update: Update existing record(s) in QuickBooks Desktop
- Delete: Delete record(s) from QuickBooks Desktop
- Void: Void record(s) in QuickBooks Desktop
- For QuickBooks Online instance, there are four (4) action types available:
- Destination Entity
-
The Destination Entity option allows you to specify which QuickBooks entity to write data to. A drop-down with available entities is listed here.
- Batch Size
-
The Batch Size allows you to specify how many entities should be written from a single service call. For example, when working with QuickBooks online instances, it has a maximum limit of 25 batched operations per service call.
- Input Timezone
-
This option allows you to specify the input timezone setting when writing to QuickBooks. There are two options available:
- UTC
- Local Time
- Minor Version
-
This option allows you to choose the API Minor version you want to use from a drop-down list.
- Refresh Component button
-
By clicking this button, the component will retrieve the latest metadata from QuickBooks' web services. After clicking this button, you will receive a status message indicating how many fields have been updated, added, or deleted.
- Map Unmapped Fields button
-
By clicking this button, the component will map any unmapped fields by matching their names with the input columns from the upstream component. This is useful when your source component has recently added more columns, in which case you can use this button to automatically establish associations between input columns and unmapped fields.
- Clear All Mappings button
-
By clicking this button, the component will remove all field mappings. You can use this button to reset your mappings.
Hard Delete vs Soft Delete
A Hard Delete can be performed on QuickBooks Transaction entities (e.g., Invoice). A Hard Delete will permanently delete the record. If you attempt to perform a Hard Delete and get an Operation Delete is not Supported error message, it means that the entity you specified does not support a hard delete operation. Most likely, it is a Name list entity that you are attempting to hard delete.
A Soft Delete can be performed on QuickBooks Name list entities (e.g., Customer). A Soft Delete essentially performs an update on the record to set the Active field to false. If you attempt to perform a Soft Delete and get a Property Name: Unrecognized field "Active" error message, the entity that you are trying to soft delete does not contain a field called Active, and therefore cannot be soft deleted. Most likely, it is a Transaction entity that you are attempting to soft delete.
Utilizing the Child Input of the Destination Component
If you want to write child entity data to a QuickBooks entity, you can connect an inbound component containing child entity data to the secondary inputs. Once you have made a connection to a Secondary Input, you must specify the Child Entity you are adding in the Child Setting grid on the General page.
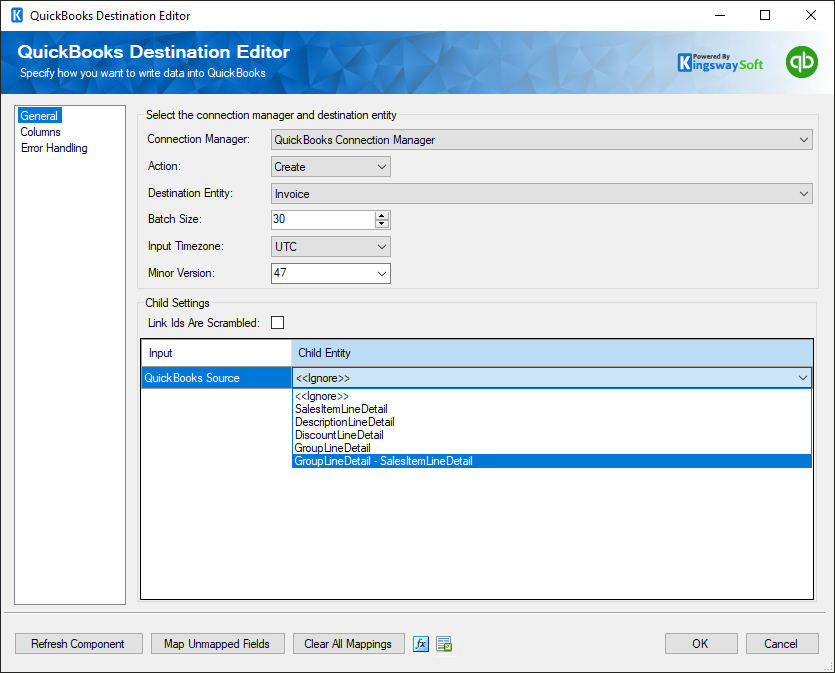
When a child is mapped in the Child Settings grid on the General page, it will be available in the select input drop-down on the Columns page. This allows for selecting input for both parent and child fields. The parent input (Primary Input) will have a field called _LinkId, which can be any string and is used to link the parent to its child object. All child inputs (Secondary Inputs) will have a field called _ParentLinkId. This field should have a value that matches the value used for the _LinkId of the parent.
Note: Each input must be sorted; for the primary input, sort by the _LinkId field, and for secondary inputs, sort by the _ParentLinkId field.
Columns Page
The Columns page of the QuickBooks Destination Component allows you to map the columns from upstream components to fields for the destination entity.
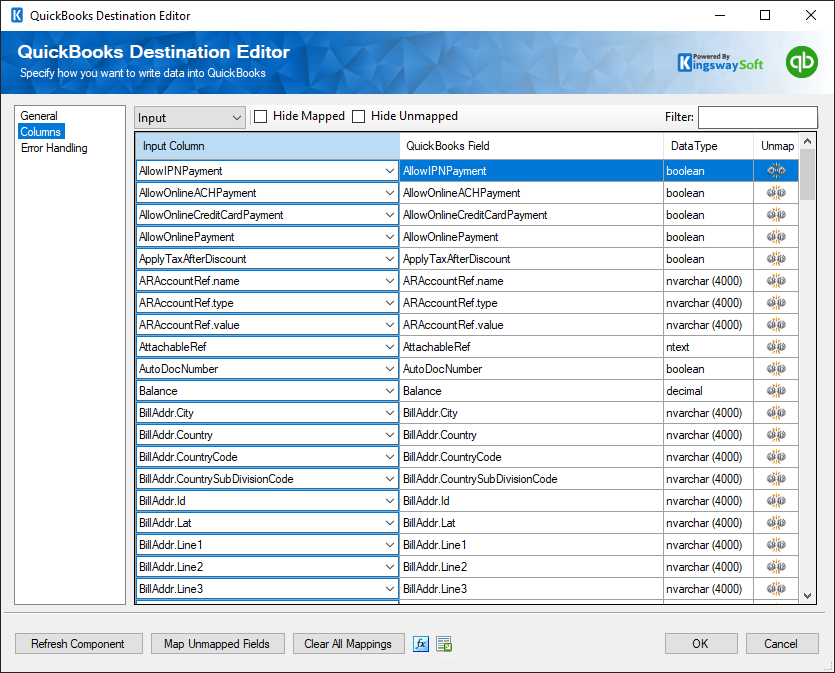
On the Columns page, you will see a grid with four columns as seen above.
- Input Column: You can select a column from your upstream component to be used as the input of the corresponding field.
- QuickBooks Field: The field that you are writing data.
- Data Type: This column indicates the type of value for the current field in QuickBooks. Typically you would need to pass in the value using the format indicated in the Data Type column.
- Unmap: This column can be used to unmap the field from the upstream input column, or otherwise it can be used to map the field to an upstream input column by matching its name if the field is not currently mapped.
Error Handling Page
The Error Handling page allows you to specify how errors should be handled when they happen.
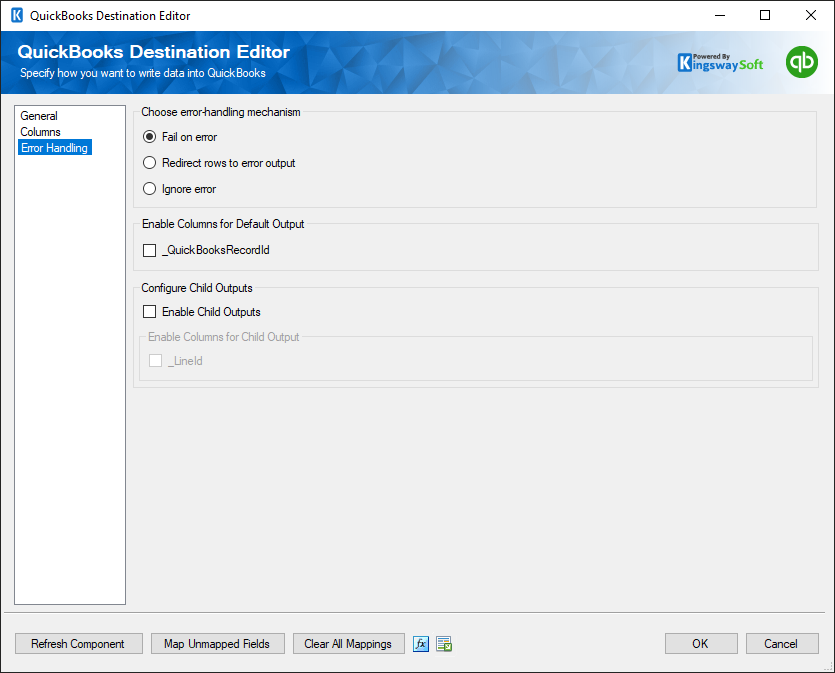
There are three options available:
- Fail on error
- Redirect rows to error output
- Ignore error
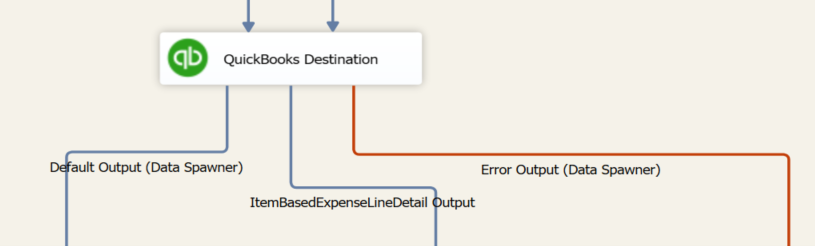
When the Redirect rows to error output option is selected, rows that failed to write to QuickBooks will be redirected to the 'Primary Error Output' of the Destination Component. The 'ErrorMessage' output column found in the Error Output may contain the error message that was reported by QuickBooks or the component itself.
Note: Use extra caution when selecting the Ignore error option, since the component will remain silent for any errors that have occurred.
On the Error Handling page, there is also an option that can be used to enable or disable the following output field for the destination component.
- _QuickBooksRecordId: contains the newly created QuickBooks record's ID, which you can use to write to a log or further process using additional data flow components.
- Enable Child Outputs: This option will enable the child outputs if there is a secondary input attached to the child lines. This output would be named {childentityname} Output.
- _LinkId: If this option is enabled, the child link ID would be available in the child output.