In our previous blog post (link here), we discussed how to extract the CRM/CDS/CE/Dataverse metadata by using the HTTP and JSON Source components. However, we recognize that there is an easier way to achieve this by using our Premium OData components, which we will discuss in this blog post. For this purpose, we will be using the following components:
The above components are both available in our SSIS Productivity Pack product.
Creating an OData connection to Dynamics CE/CRM/Dataverse API endpoint
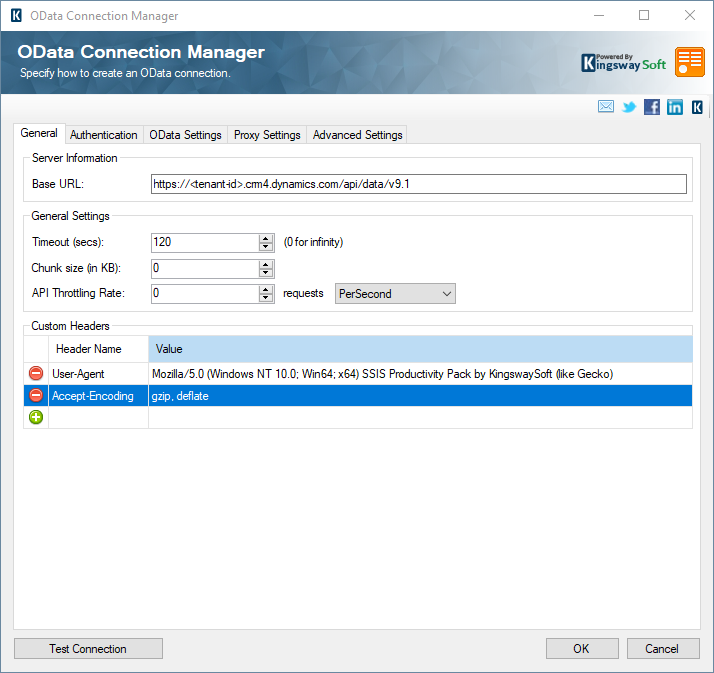
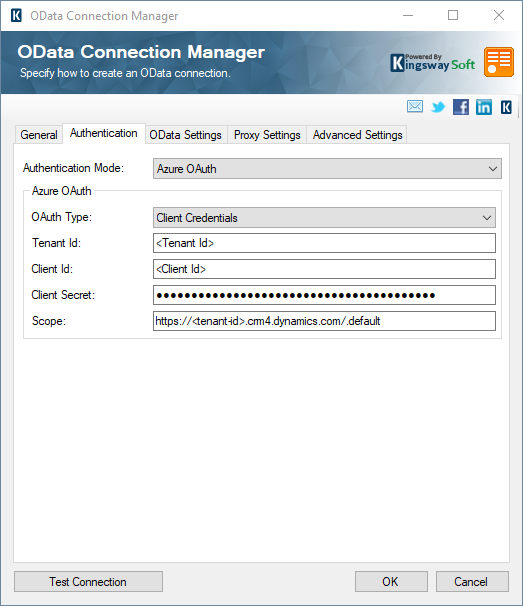
To facilitate metadata reading using the Premium OData Source component, we first need to establish a connection to the Dynamics 365 CE/CRM/Dataverse OData service endpoint. To achieve this, we start by creating an SSIS connection manager using the OData (KingswaySoft) connection manager which is made available after SSIS Productivity Pack is installed. Then, from within the OData Connection Manager UI, we first set the Base URL of the Dynamics CRM, which format is like https://<instance-name>.crmX.dynamics.com on the General page. Here, X represents the region of your D365 CE or Dataverse instance resides, it can be empty for tenants in the USA (except government clients). Next, we should provide authentication information in the Authentication tab. Our OData connection manager supports more than a few authentication options that are designed to work with different OData service implementations. In our case, we will be using the Azure OAuth option to connect to our CDS/CRM OData service endpoint.
Once you have the authentication ready click on the test connection to verify the connection. Once tested, you are ready to move on to the Source component.
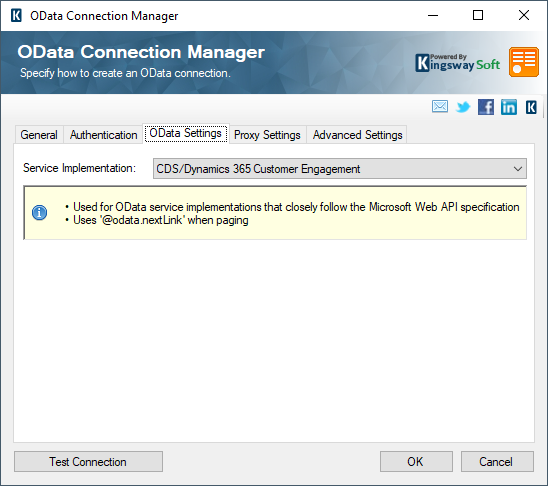
You may also navigate to "Odata Settings" page, and choose as shown below.
Fetching Entities and Attributes from Dynamics CRM
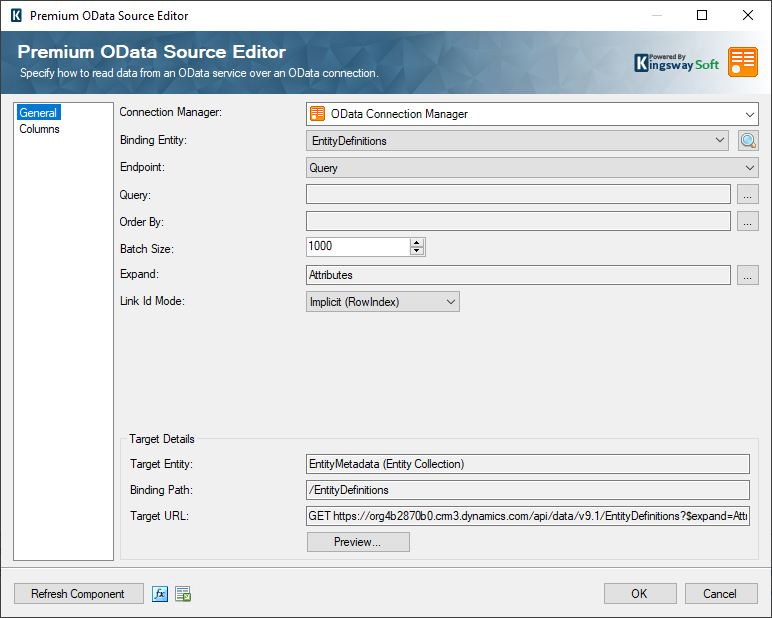
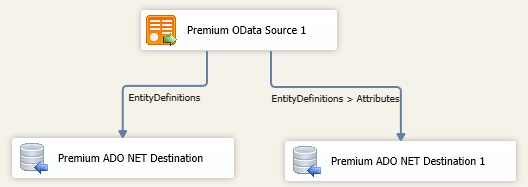
Now that we have implemented the connection manager, it is time to use the connection manager in the Premium OData Source component for reading entities and related attributes. We would be really working on the EntityDefinitions entity in the system. In the OData source component, you would start by selecting the EntityDefinitions entity as the Binding Entity. From there, there might be three different use cases, for each you would have some different configuration to the source component.
Case 1: In the case that you need to download the entire list of all entities from the Dynamics 365 CE/CRM system, you could configure the Premium OData source component as shown below. Keep in mind that the response returned by the server would be significantly large depending on the customizations that you have in the system. The data flow can take a relatively long time to run.
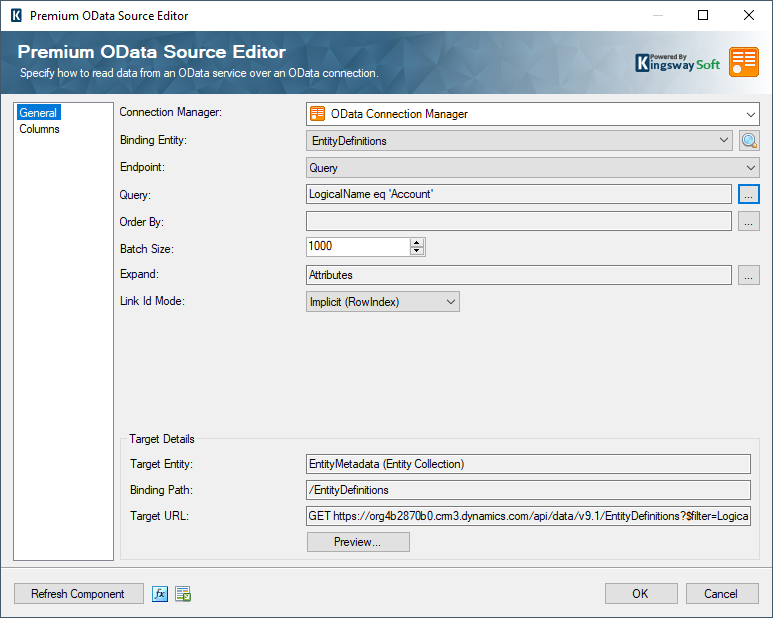
Case 2: If you do not wish to get all the entities and also do not have the Entity Id, then that's achievable as well. With only the Entity Name, you can set the Expression in the Query for filtering LogicalName as the Entity Name, and in the Expand option, set it as Attributes.
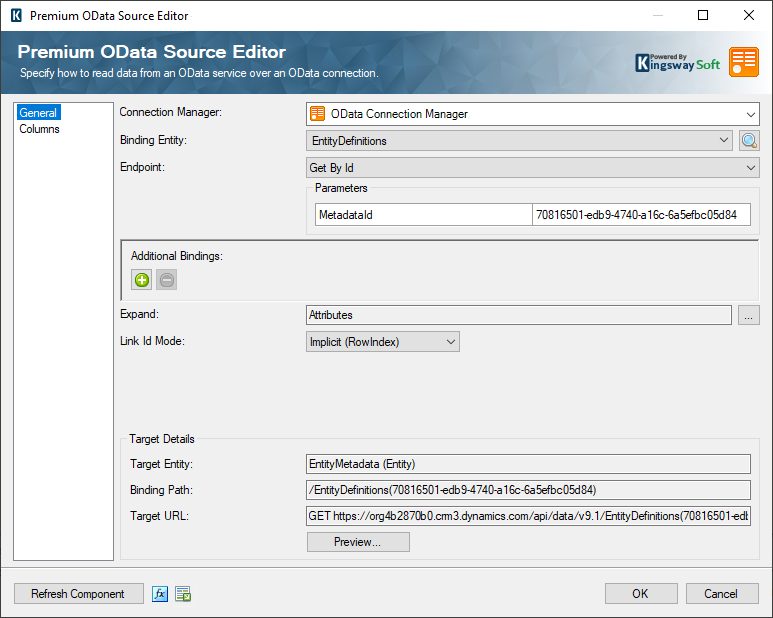
Case 3: Now, if you have the Entity ID, and you would like to use it, then the Endpoint could be chosen as Get By Id. And when you do that, the MetadataID would be visible in the "Parameters" field. You can then set the MetadataId as Entity Id (GUID), and in the Additional Bindings set Attributes as Binding Entity like the screenshot below:
Metadata configuration
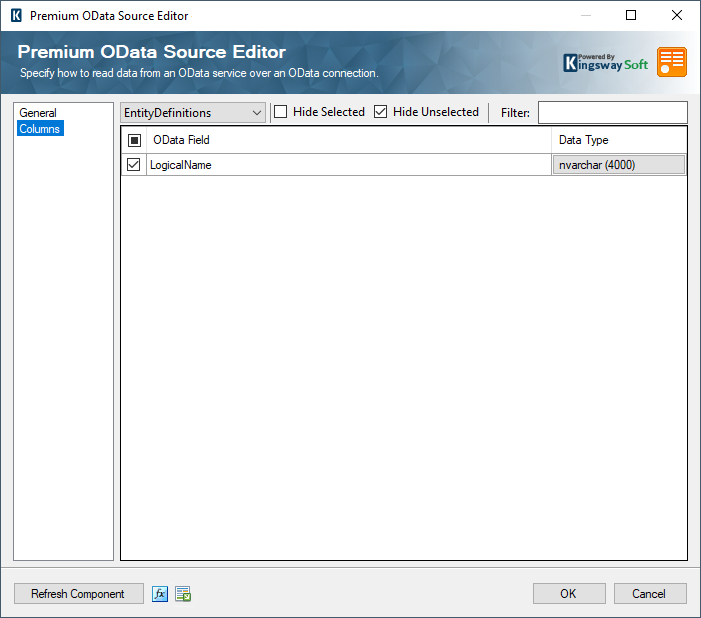
Now, coming to the actual metadata part, in the columns page, for better performance, it is recommended to select only the required columns. However, due to SSIS limitations, you should select at least one column for each entity defined as an output in the drop-down list. Otherwise, the component will report an error when executed.
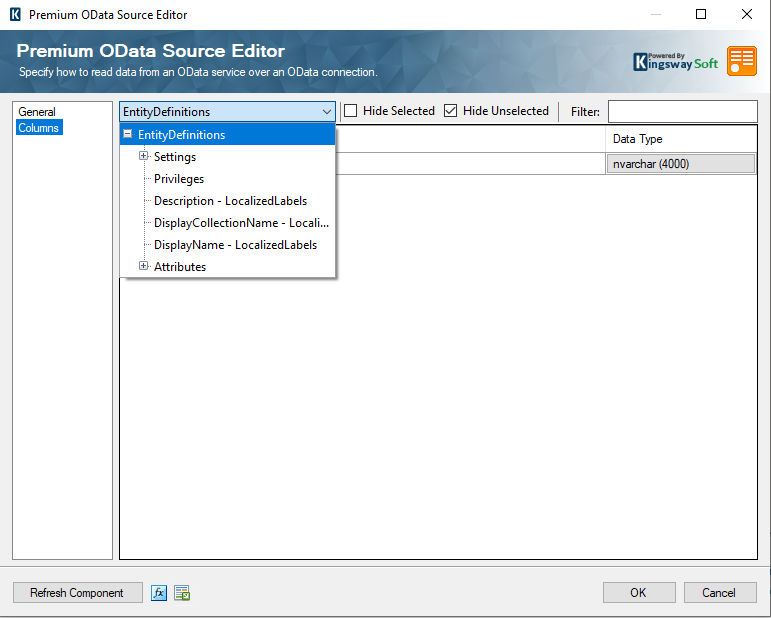
As you can see below, there are child outputs available as well, which are dealt with as separate outputs. "EntityDefinitions" here is the parent, which has "Attributes" as its child. The attributes will contain all the columns or the metadata details for the respective entities.
Setting up the Destination component
After the above configuration is ready, you can find two of the outputs from the Premium OData source component are for EntityDefinitions and Attributes. And these can be written to the table by joining them, or handled separately, by using our Premium ADO.NET Destination components.
To save the information, connect the outputs to the Premium ADO.NET Destination component and double-click on it to configure its settings. Select the ADO.NET Connection Manager and choose the appropriate action. Here, we choose the Insert action.
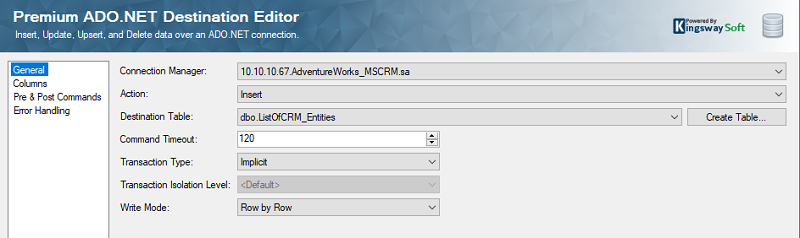
Next, select the desired table to which the CRM/Dataverse metadata should be written to. If you do not have one yet, then you could click on the "Create Table" button and create one. On the Columns page, select the Input column that needs to be mapped to the Destination Table column. Once the required fields are mapped, and the Error Handling page has been configured (if required), click on the OK button to save it, and close the Destination Editor. Then, do the same steps for the Attributes output as well, depending on which table you wish to write to. When you run the package, you can get all the Dataverse/CRM entities and their respective attributes.
Conclusion
As demonstrated above, using the Premium OData components makes it simpler if you wish to extract the metadata information from your Dataverse/CRM instance. We hope this has helped.