When you have large data sets to be loaded to your instances, it will be ideal to have a way to load them in bulk. This is particularly true when you work with a large number of records in your data warehouse projects such as Snowflake. Utilizing bulk load features can significantly improve your data load performance, thus reduces your total load time. In this blog post, we will be discussing the bulk loading capabilities that was recently introduced in the Snowflake Destination component which is part of our SSIS Productivity Pack product offering. , you can see we can load data into Snowflake efficiently utilizing such capabilities in our software.
The Snowflake API uses the COPY command to load large volume data from a staging location to the Snowflake tables, it requires a staging storage location, which can be any of the following:
- Microsoft Azure Blob Storage
- Amazon S3 storage
In our SSIS productivity Pack, you will find such an option in the Snowflake destination component, that can be used to specify the staging storage container, which is served for the intermediate storage location in order to enable such bulk load. Using the Snowflake destination component, this is made incredibly easy and straightforward. Let's dive into the entire case, shall we?
Connecting to the Data Source
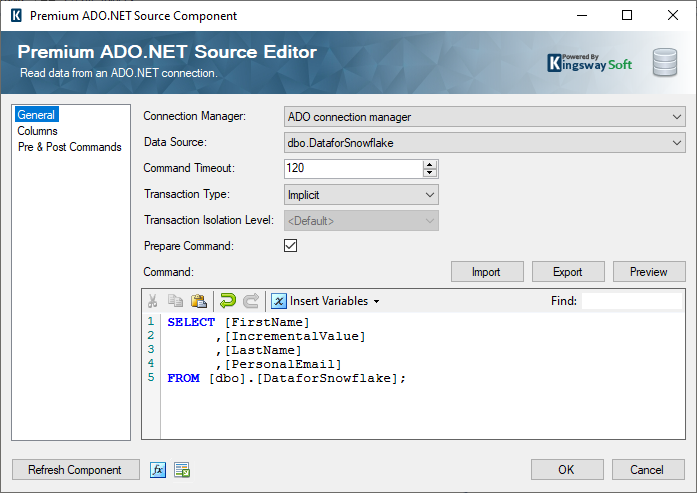
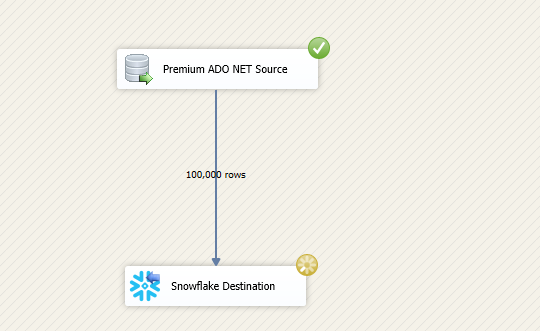
Consider the example below, in which we have a database table that consists of 100,000 records - this by no means is a large table, but we are simply using the case as an example. For a regular load, this may take a while depending on the network latency, network bandwidth, and many other performance factors. However, by using the bulk load feature in Snowflake Destination component, this can be done almost instantaneously. First, we use a Premium ADO.NET Source component to read from the SQL Server table as we just discussed. Within the data flow, we will leverage the SSIS ETL engine to push the data to its final destination by utilizing a Snowflake destination component that is shipped in the SSIS Productivity Pack product, which is our main focus of this blog post today. In the Source component, the ADO connection manager can point to your database, and the Data Source can be chosen to be the required table. If you wish to work with a particular set of records, you could provide a custom SQL Command in order to extract data in whichever way you like. In this case, we are keeping it simple, we are simply extracting data from a database table called DataforSnowflake using a custom command as you can see below.
Configuring the Snowflake Destination component
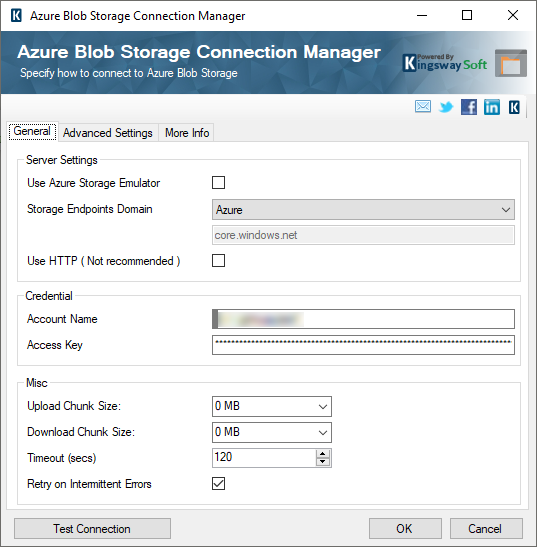
Once we have the Source component setup, you can connect the source to a Snowflake Destination component which can be dragged and dropped to the data flow design surface in your SSIS Visual Studio development environment (SSDT). In order to work with the bulk load feature, as we had mentioned, you would need a cloud storage location. In this example, we utilize an Azure Blob storage container for that. In order to have an Azure Blob Storage container to act as staging, you would first need to create an Azure Blob Storage Connection Manager. By right clicking on the “Connection Manager” section in VS SSDT, you can choose the Azure Blob Storage Connection Manager and configure it like something below. The Account Name and Access Key can be used to easily connect to your blob storage. The Account Name is the Storage Account you've created in Azure Storage Services, which can be found within Azure Portal by navigating to All Services -> Storage accounts -> {Your storage account name} -> Access Keys. Whereas the Access Key can be found within Azure Portal by navigating to the All Services -> Storage accounts -> {Your storage account name} -> Access Keys page.
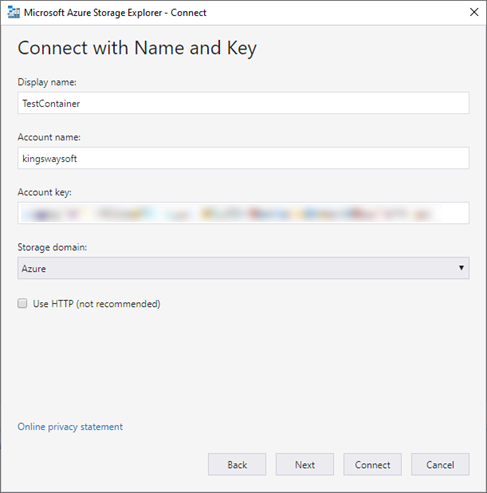
Now, you could provide a specific container that would stage the data files. And for that, you could either use your Azure portal, or use Microsoft Azure Storage Explorer. This can be downloaded and used to connect and view your containers and its contents.

Once you have connected to your account, you can right click on Storage account, and then click on Connect to your Azure Storage, which will open up the below window. In here, you can provide the same Account Name and Access Key in order to establish a connection to the storage.
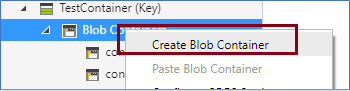
And inside this, you can create a blob container. Our container name is snowflakefiles, which you would see being utilized in the upcoming section of this post, in Snowflake Destination component.
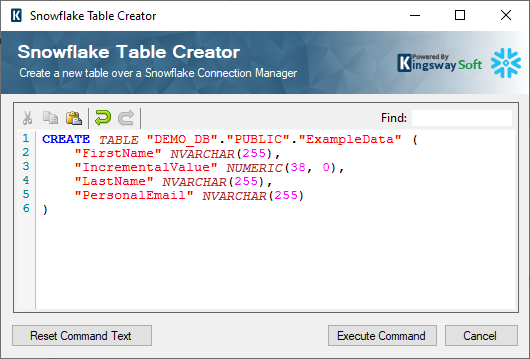
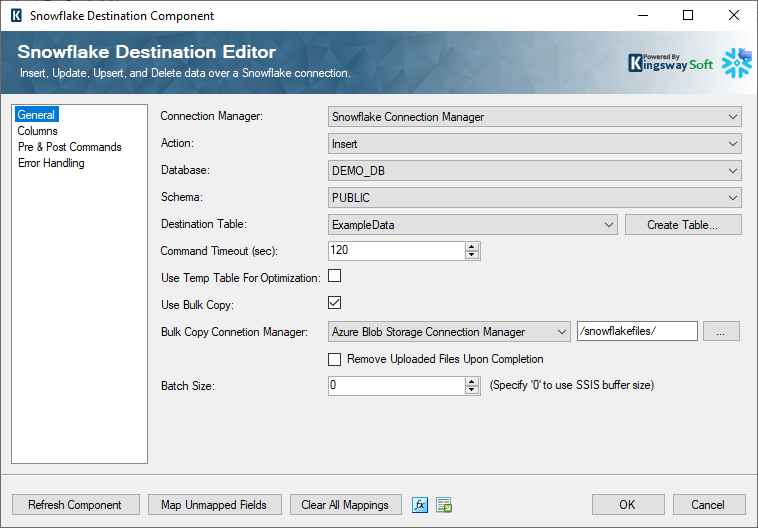
Once you have the container ready, you could start configuring the Snowflake Destination component. Choose the connection manager and select the Insert action. It is important to note that Bulk load is only supported by the Insert action. You can select the rest of the Database, Schema, and the Destination table to complete most configurations of the destination component. If you do not have a Destination table yet created, then our Snowflake Destination component provides the “Create Table” button, which can be used to create one while configuring the component. Once you click on the button, the below page would open up, in which the create table command is automatically populated based on input column metadata. The columns would have the name and datatype - depending on the metadata from the upstream Source component. Once you have modified the names as per your requirement, you can click on “Execute Command” to create the table. In doing so, you would see that the table is chosen in the “Destination Table” field in the Snowflake Destination component.
After the Destination Table is selected, you can enable the option “Use Bulk Copy” and then chose the Bulk Copy Connection Manager. This would be the connection manager pointing to the staging location. Since we are using Azure Blob Storage Containers for this, you can use the same connection manager we created in the previous steps, and then navigate to the container you have created by clicking on the ellipsis (…) button. There is an option “Remove Uploaded Files Upon Completion”, when enabled, would remove the data files once they are successfully uploaded to the staging location. In our case, as you can see below, we have the option unselected. In doing so, the files uploaded to the blob storage will be kept there after the entire writing is finished. This provides us the ability to investigate the data load job in case there are any issues. For production purpose, we generally recommend you have the option enabled, so it will automatically clean up such intermediate blob storage files so that they don't eat up your storage space.
And then, you can choose to provide the batch size. This would determine how the files are created, and how many rows to be written to each data file that is created in the staging location. We have specified the batch size as zero, so that the SSIS buffer size would be automatically be used.
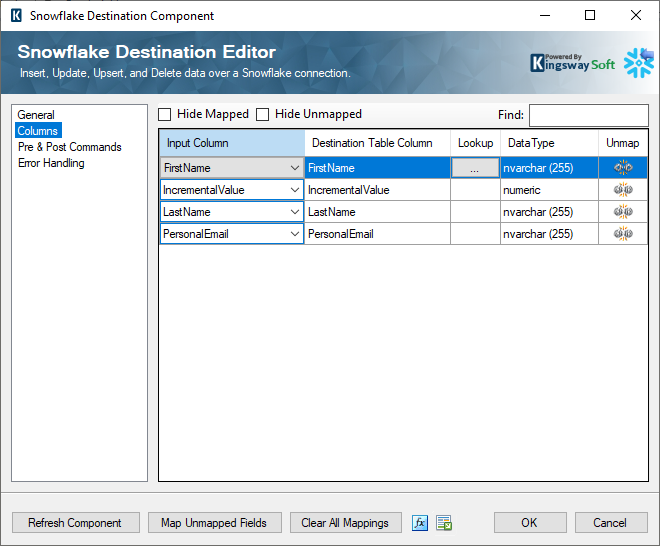
Next, in the columns page of the Snowflake Destination component, you can map from the input Source columns to the Destination Table columns.
Once you have the above configured, you can start execution. You will see that the destination component would finish almost instantaneously when the Bulk load feature is used. Without using the feature, it would take much longer when the records are processed in a row-by-row fashion. Even though our example data set is for only 100,000 records, you would see similar behavior when working with a larger data set, such as millions of records, or even billions of records.
Once the task has run, since we have the option “Remove Uploaded Files Upon Completion” disabled, you would see the files populated in the Azure Blob Storage location, under a temp_**** folder.
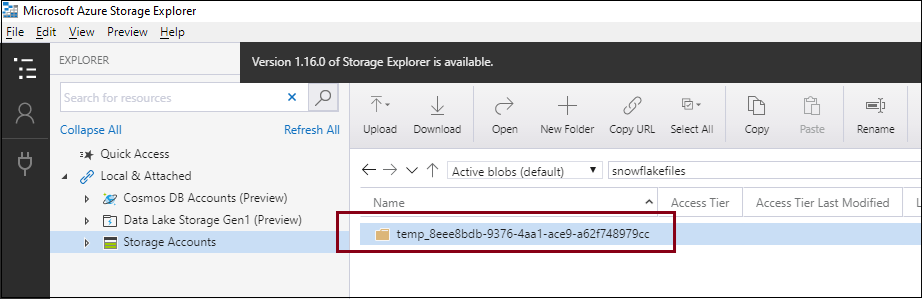
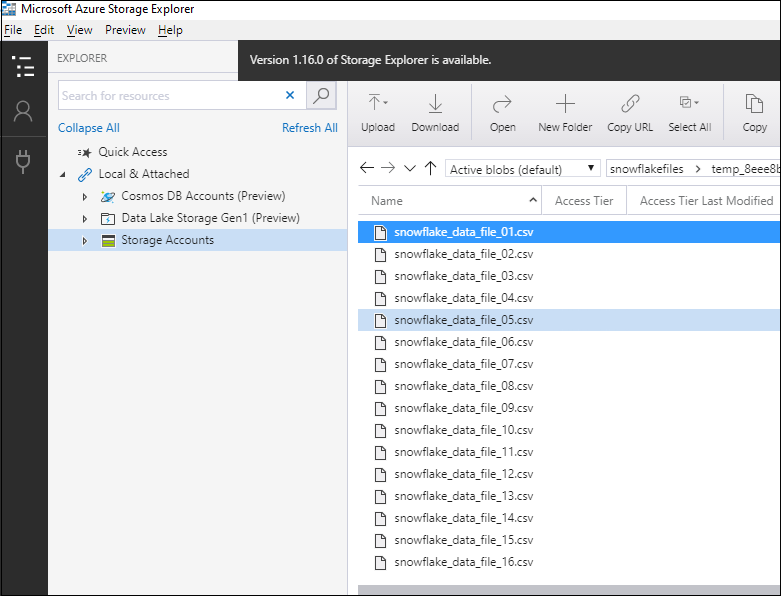
It is worth noting that we generally recommend having the “Remove Uploaded Files Upon Completion” option enabled for production purpose. The option should only be disabled if you need to debug and troubleshoot a particular data load process.
Closing Notes
In conclusion, the bulk writing feature in KingswaySoft Snowflake Destination Component can be used to work with large data loads leveraging Azure Blob Storage or Amazon S3 as intermediate cloud storage. This should offer significantly better performance than trying to insert one row at a time or even inserting records per batch. Otherwise, achieving an acceptable performance for moving large datasets to Snowflake in SSIS would be challenging by just using the out-of-the-box components.